Lina Irawan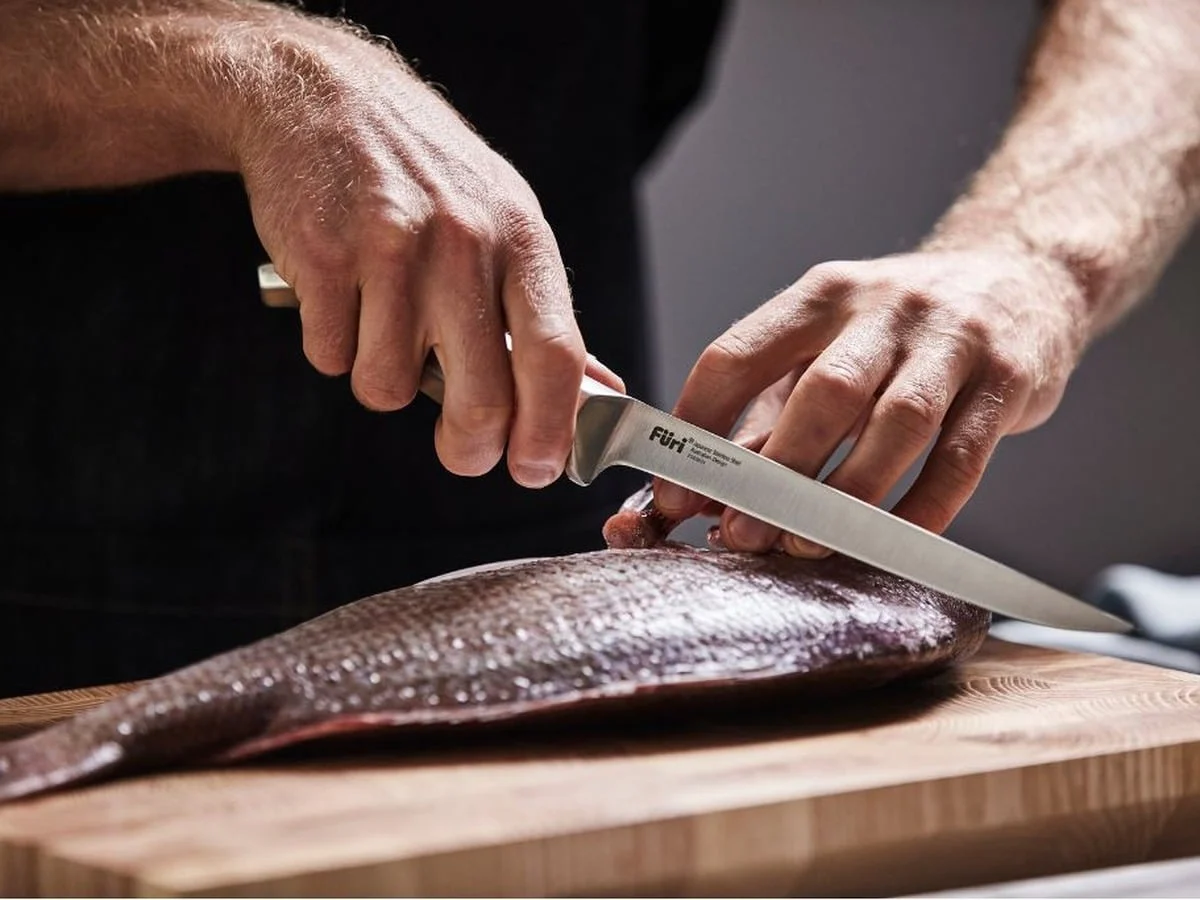
The successful filleting of an Australasian snapper (Chrysophrys auratus) is a process defined by three critical anatomical intersections: the region posterior to the gill plate, the longitudinal line of the backbone, and the curvature of the rib cage. Executing these cuts with precision ensures the maximum extraction of high-quality protein, yielding two clean fillets while leaving minimal residual tissue on the skeletal frame. Conversely, the use of inappropriate equipment—specifically blades lacking the necessary flexibility or sharpness—results in significant wastage, often leaving up to 33 percent of the edible yield attached to the bone. This technical overview examines the comprehensive lifecycle of snapper preparation, from post-capture handling and thermal regulation to the intricate mechanics of skeletal separation and long-term preservation.
The Biological and Culinary Significance of Australasian Snapper
To understand the filleting process, one must first distinguish the target species from its international counterparts. In the Australian and New Zealand context, the "snapper" is not a true snapper of the Lutjanidae family, such as the American red snapper (Lutjanus campechanus). Instead, it is a member of the Sparidae family, more accurately classified as a sea bream. This distinction is not merely taxonomic; it dictates the skeletal structure and flesh density of the fish. The Australasian snapper is characterized by a deep body, a large head—often developing a pronounced bony hump in mature specimens—and a robust rib cage that requires a specific blade path compared to more streamlined pelagic species.
Culinary experts prize the snapper for its white, flaky flesh and mild flavor profile. However, the quality of the final product is highly volatile and dependent on immediate post-mortem handling. The market value of snapper fillets is dictated by the "clarity" of the flesh, which is achieved through rigorous bleeding and temperature control protocols.
Chronology of Preparation: From Capture to the Cutting Bench
The preservation of fillet integrity begins the moment the fish is removed from the water. Professional fishers and high-end culinary preparers adhere to a strict chronological sequence to ensure the flesh does not degrade before it reaches the blade.
Immediate Exsanguination
The primary cause of flavor degradation in snapper is the retention of blood within the muscle tissue. If blood is left to stagnate, it undergoes rapid oxidation, leading to a darkening of the flesh and the development of a metallic, "fishy" aftertaste within 24 hours. The standard professional procedure involves severing the gill arches or making a deep incision behind the pectoral fin immediately upon capture. This allows the fish’s heart to pump the blood out of the vascular system. For optimal results, the fish should be placed in a bucket of seawater during this process to prevent premature clotting.

Rapid Thermal Reduction (The Ice Slurry)
Once bled, the fish must be chilled to near-freezing temperatures. The use of a "slurry"—a mixture of crushed ice and seawater—is scientifically superior to "dry" icing. Water is a more efficient conductor of thermal energy than air; therefore, a liquid slurry surrounds the entire surface area of the fish, drawing heat out of the core much faster than loose ice cubes. It is critical to use seawater rather than fresh water for this slurry. Fresh water is hypotonic relative to the fish’s cells, leading to osmotic movement where water enters the flesh, resulting in a "bloated," cloudy, and softened texture.
The Rigor Mortis Window
A common mistake among novice anglers is attempting to fillet a fish while it is in the state of rigor mortis. When the muscles are stiff, the flesh adheres more tightly to the bone, making clean separation nearly impossible. Professional standards suggest allowing the fish to rest on ice for several hours until the muscles relax. This "post-rigor" state allows the blade to glide along the vertebrae with minimal resistance, significantly increasing the yield per fish.
Technical Equipment Requirements: The Mechanics of the Blade
The efficacy of the filleting process is largely determined by the metallurgical and ergonomic properties of the tools employed. Unlike a standard chef’s knife, a filleting knife must possess "lateral flexibility."
Blade Composition and Geometry
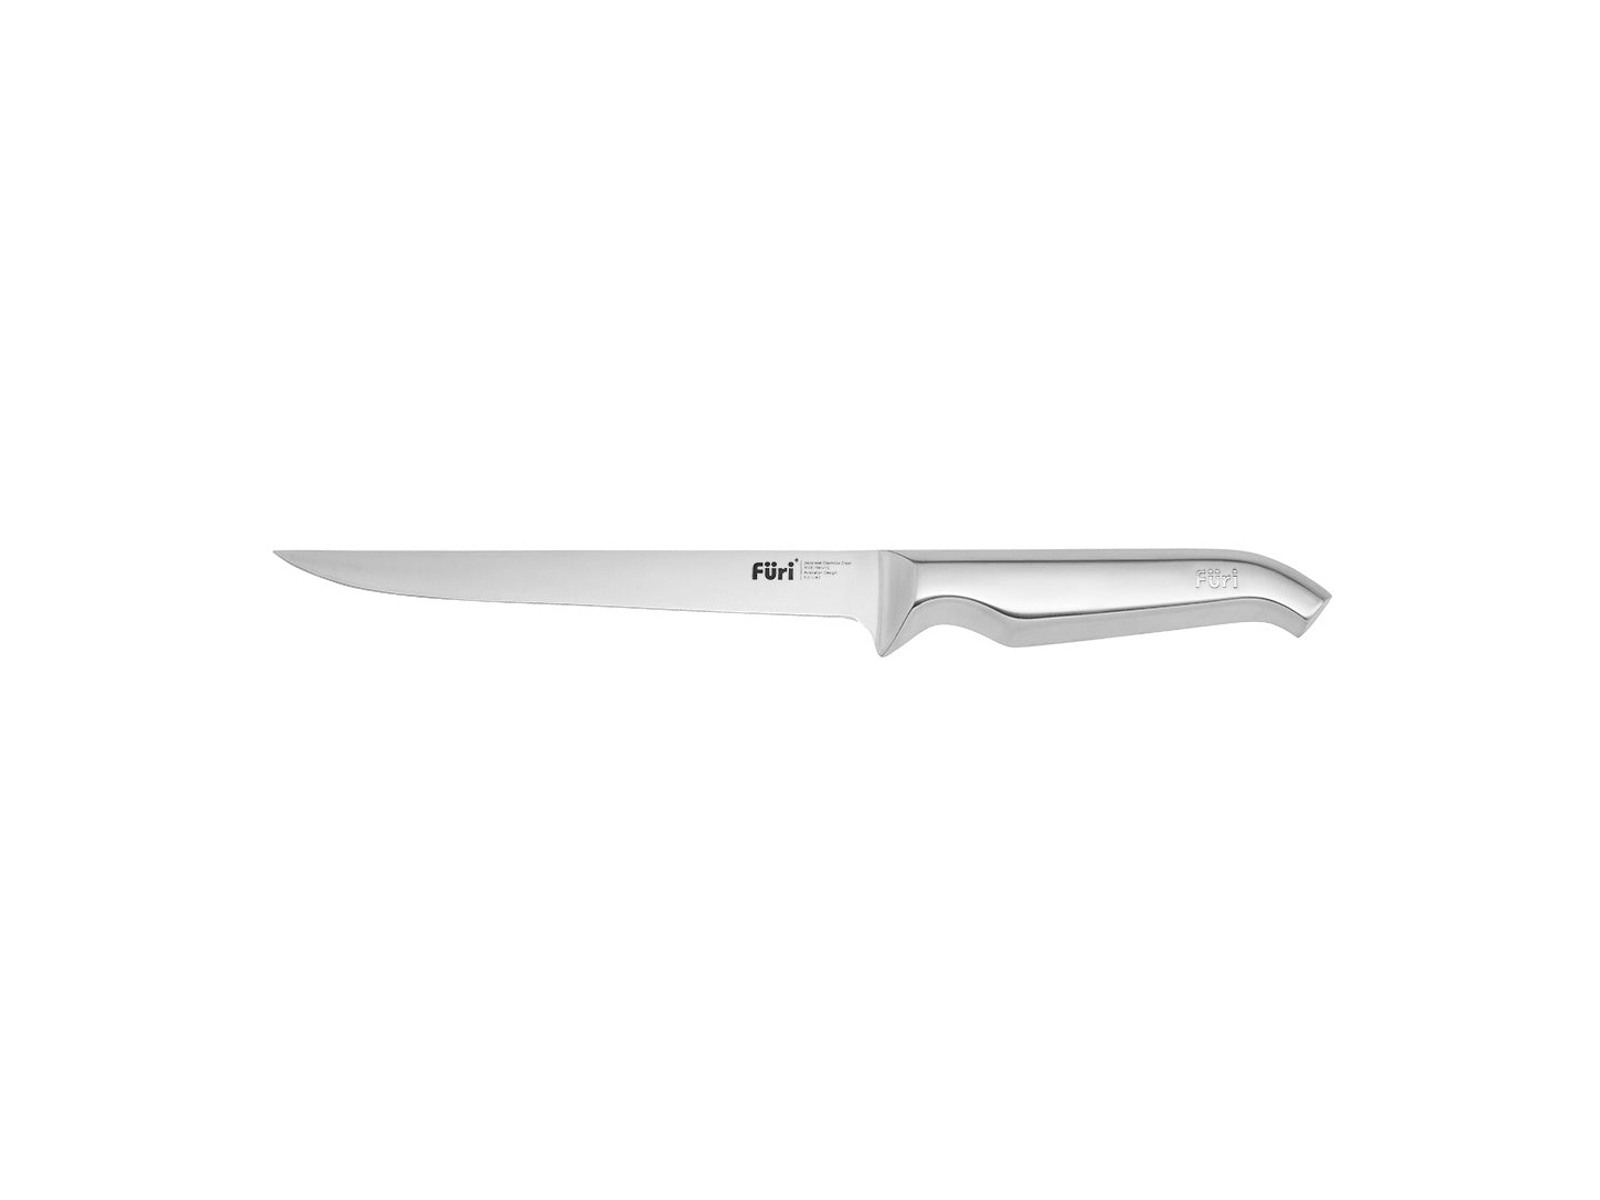
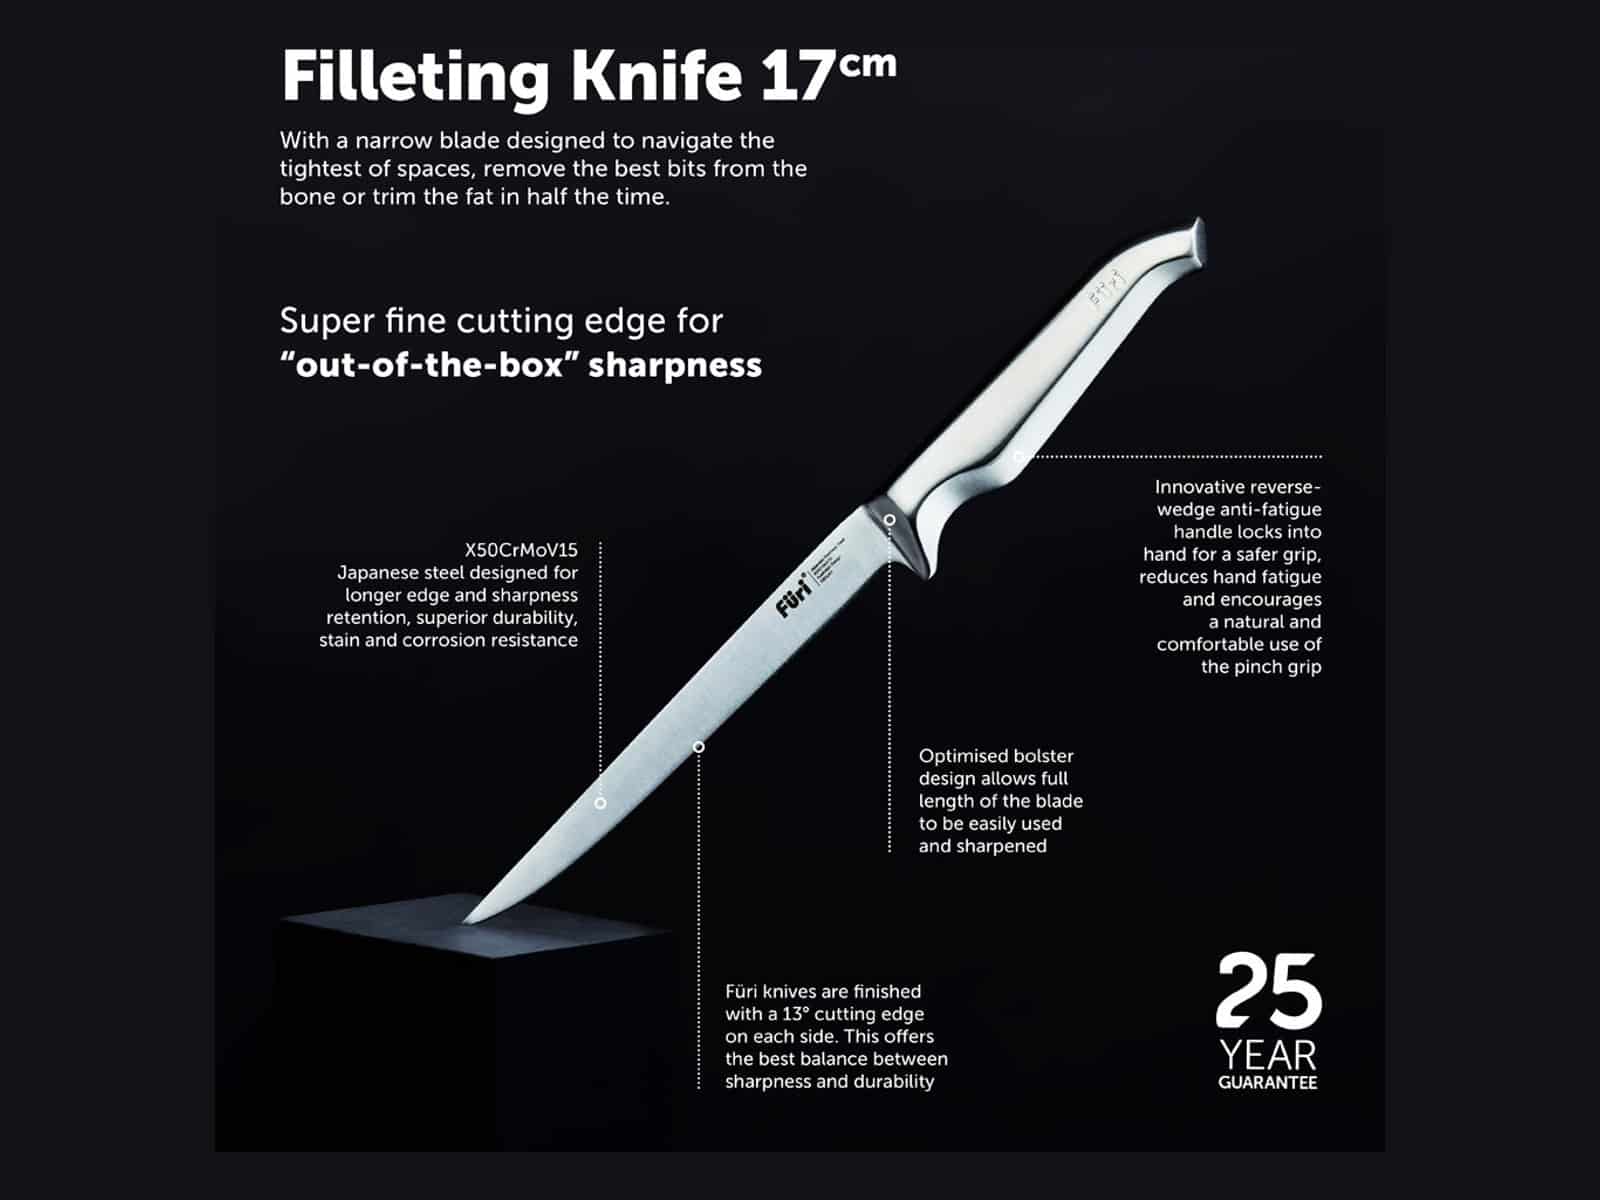
The industry standard for snapper filleting involves a 17cm tapered blade, often forged from high-carbon Japanese stainless steel such as X50CrMoV15. This specific alloy provides a balance of edge retention and corrosion resistance. The blade must be thin enough to flex at a 15-to-20-degree angle, allowing it to follow the natural contours of the snapper’s rib cage without "biting" into the bone.
Ergonomics and Safety
Given the slimy nature of snapper—which possess a protective mucous layer—the handle design is a critical safety feature. Professional-grade knives often utilize a "reverse-wedge" handle or a textured bolster to prevent the hand from slipping forward onto the blade. Furthermore, the use of a non-porous cutting surface, such as a wood fiber composite board (e.g., the Furi DuraBoard), is recommended. These surfaces are more hygienic than traditional timber, as they do not harbor bacteria in deep knife scars and can withstand high-temperature sterilization.
Step-by-Step Technical Execution of the Fillet
Phase 1: Surface Preparation
If the intended cooking method involves skin-on preparation (such as pan-searing), scaling must be performed while the fish is whole. Attempting to scale a detached fillet will inevitably tear the delicate muscle fibers. Using a dedicated scaler or the back of a knife, the preparer should work from the caudal fin (tail) toward the head. Following scaling, the fish must be patted dry; a dry fish is stable, whereas a wet fish is a laceration hazard.
Phase 2: The Initial Transverse Cut
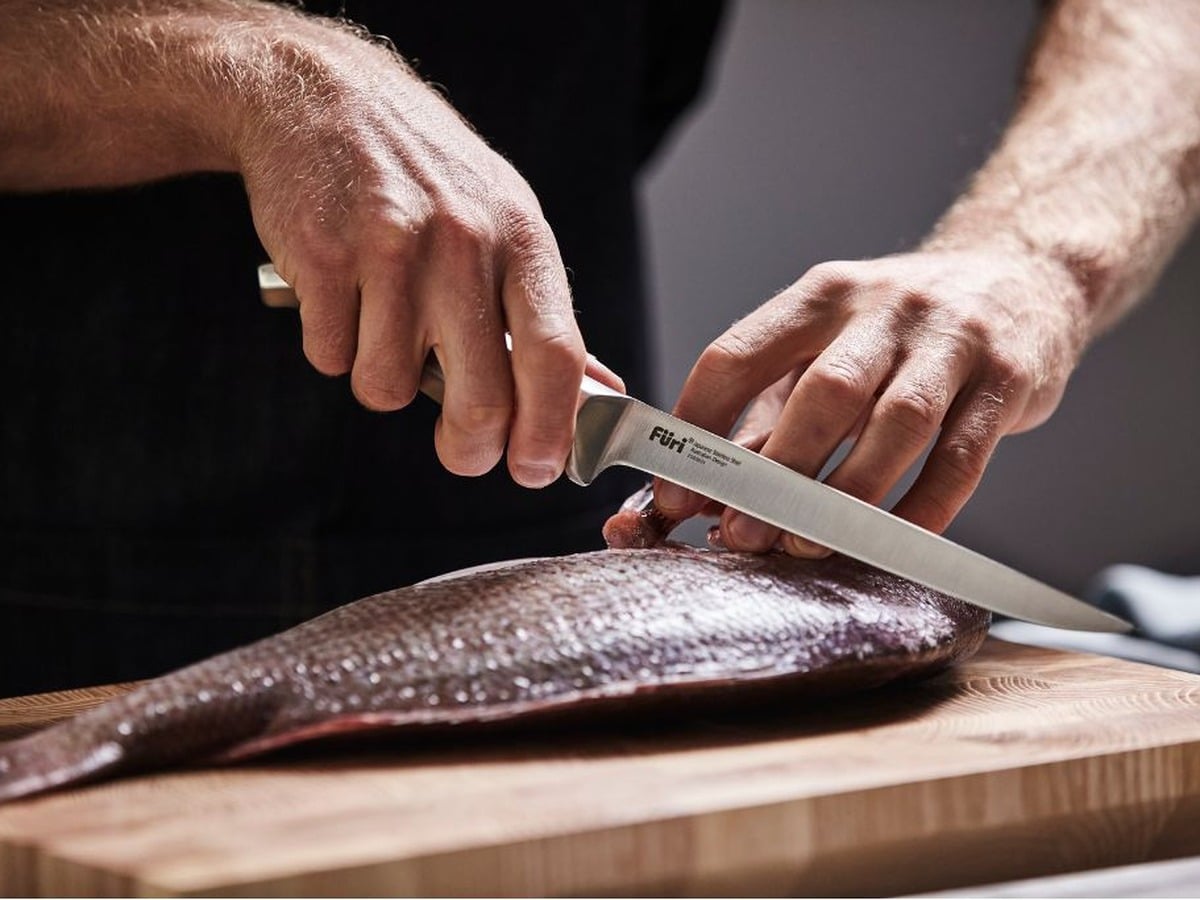
The first cut is made behind the pectoral fin and the gill plate. The knife should be angled slightly toward the head. This "forward-slant" is vital because a significant portion of the snapper’s premium "shoulder" meat extends forward above the gills. The cut should proceed until the blade makes contact with the spinal column, but should not attempt to sever it.
Phase 3: Longitudinal Separation
With the blade flat against the backbone, the preparer uses long, sweeping strokes from the head toward the tail. The 17cm blade length is utilized to maintain a consistent plane. A "ticking" sound—the edge of the knife vibrating against the vertebrae—serves as an auditory confirmation that the blade is positioned correctly. Excessive downward pressure must be avoided, as it forces the blade into the bone, creating jagged edges on the fillet.
Phase 4: Navigating the Rib Cage
As the blade reaches the mid-section, it encounters the rib cage. The technician must angle the blade upward, "skimming" over the ribs. This requires the knife’s flexibility to be engaged. Once past the rib cage, the blade is pushed through to the ventral (belly) side, and the cut is completed through to the tail.
Phase 5: Refining and Pin Bone Removal
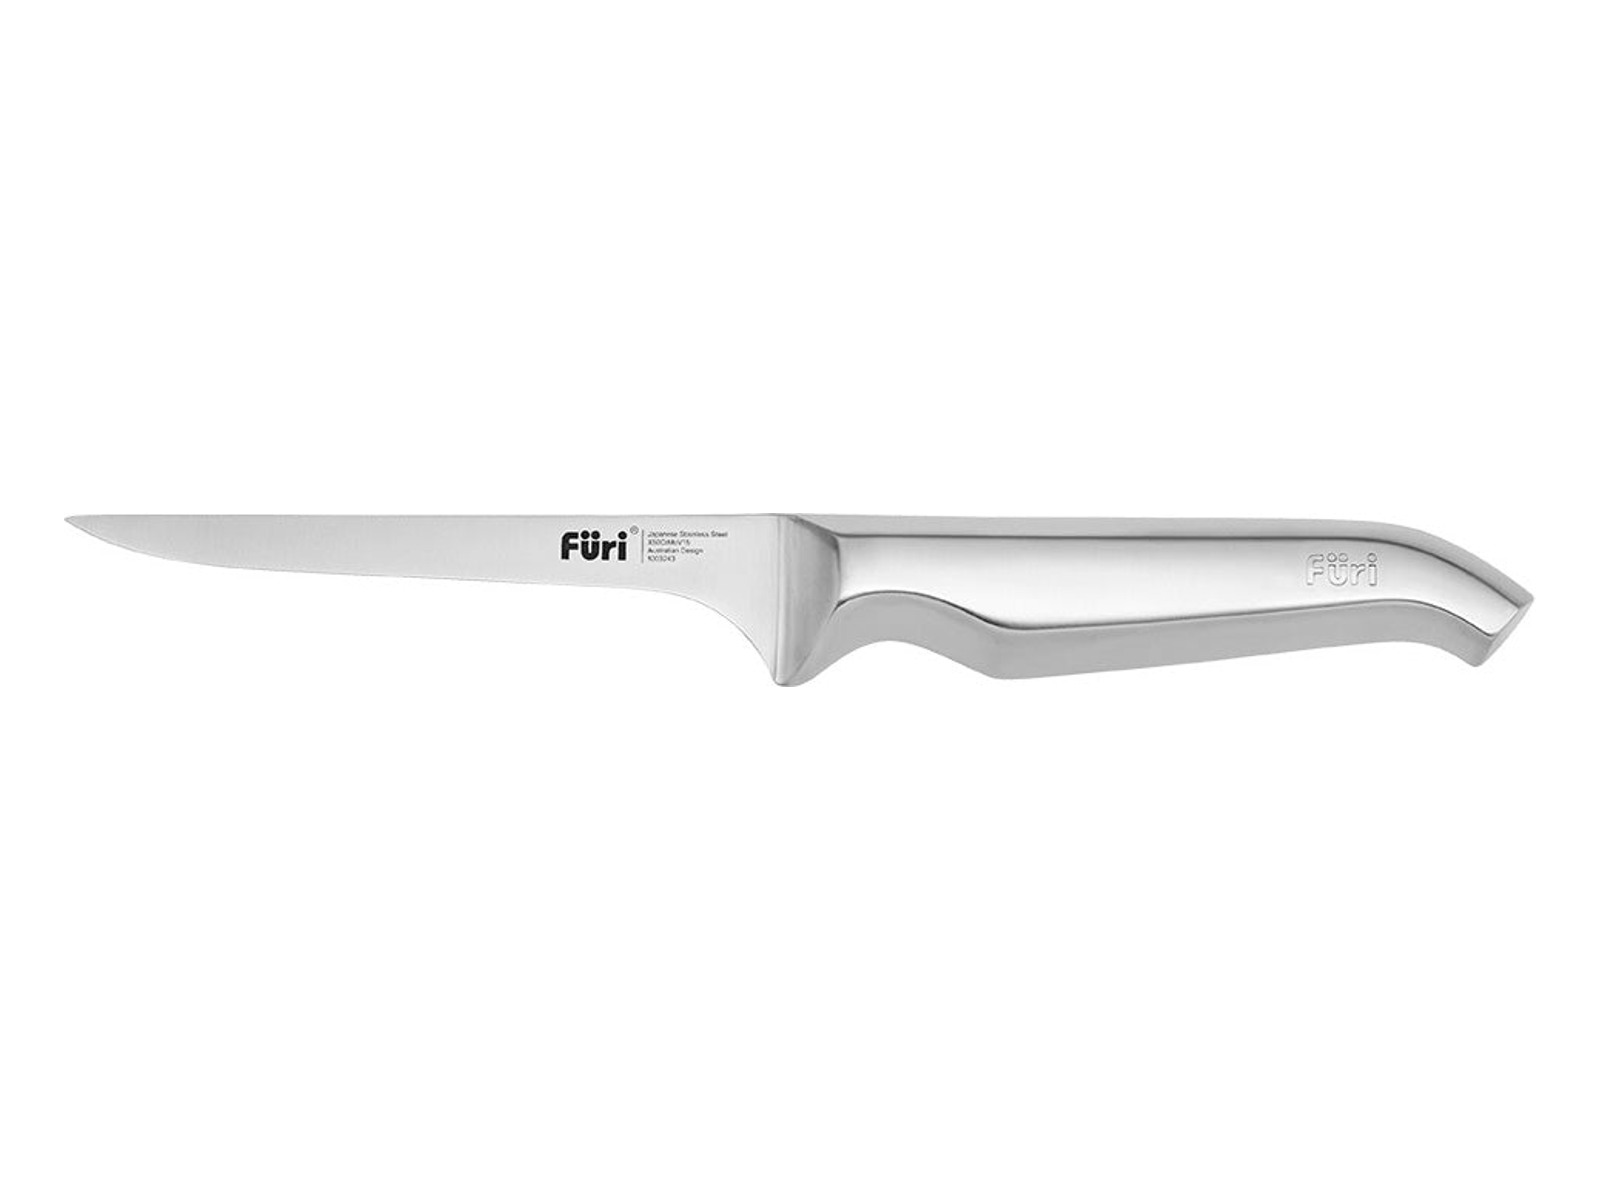
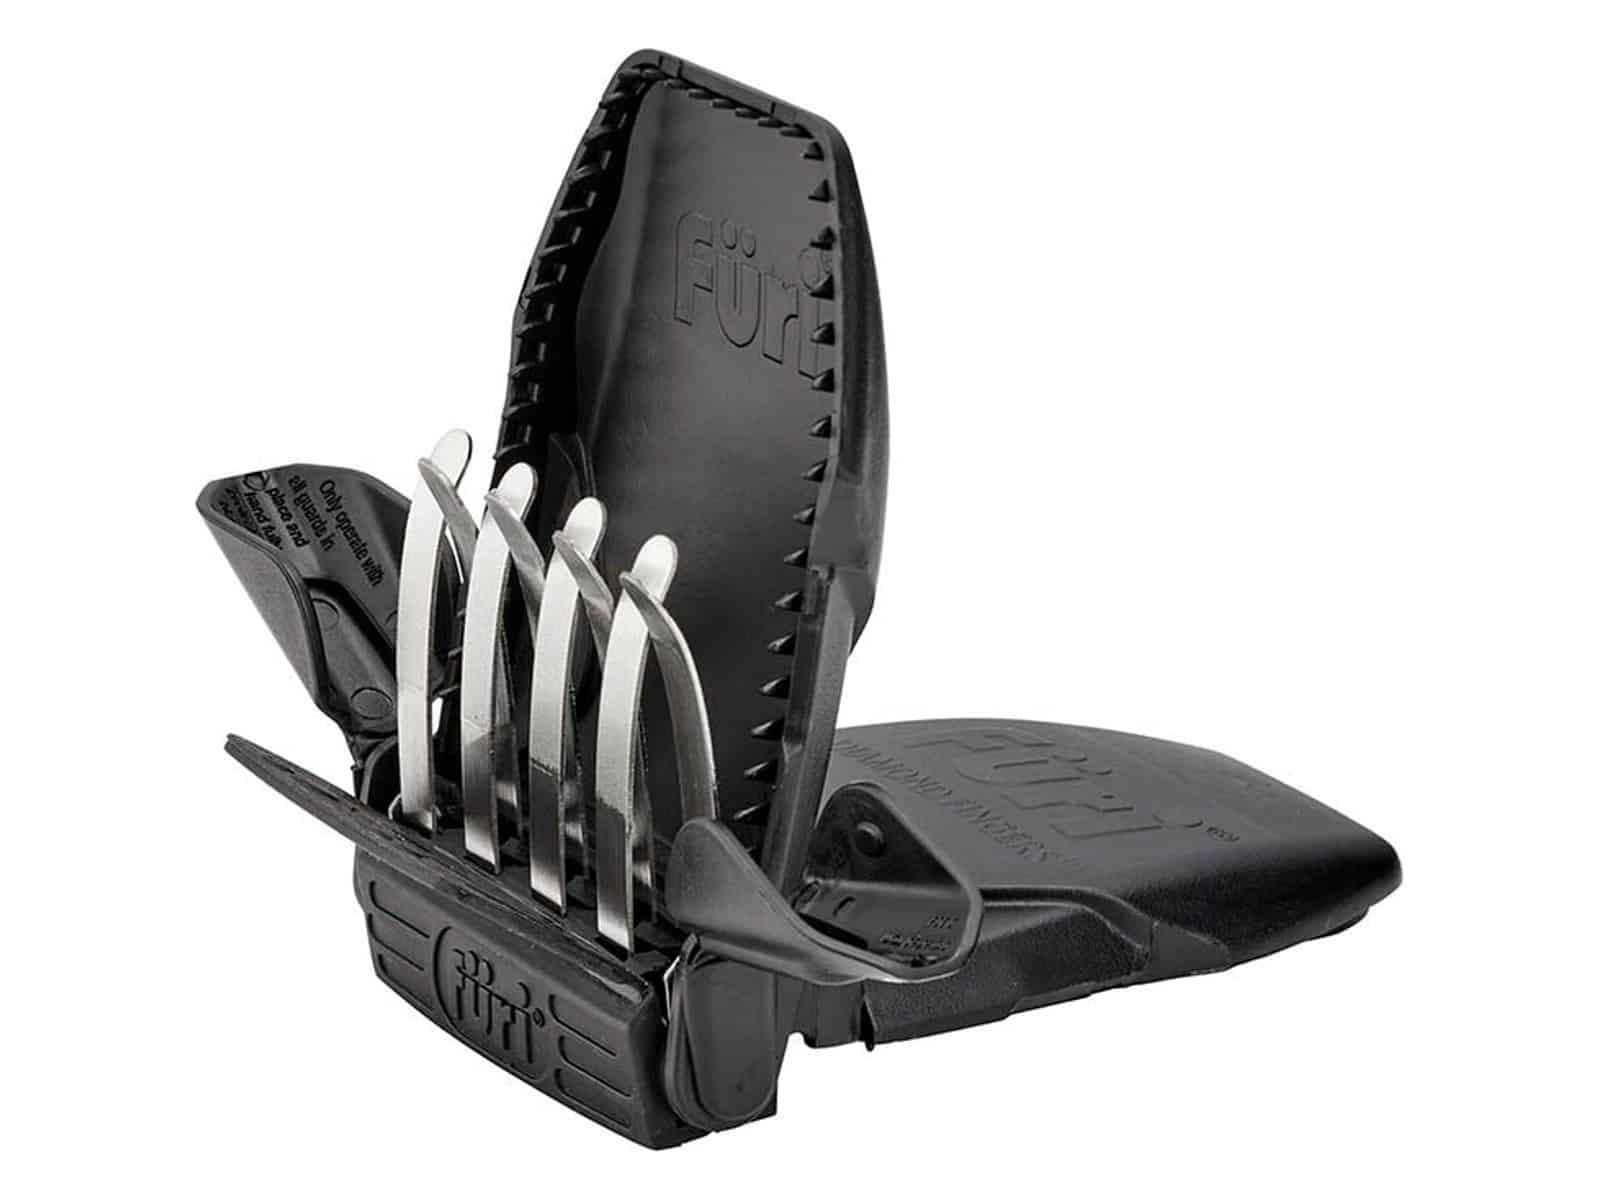
The resulting fillet contains a row of intramuscular bones known as "pin bones." In the Australasian snapper, these bones are oriented toward the head. Using specialized fish pliers or sturdy tweezers, the bones should be pulled in the direction they are pointing. Pulling them straight up or backward will result in "gaping," where the muscle flakes separate prematurely. For the removal of the rib sheet, a shorter 13cm boning knife is often used to provide greater leverage and precision.
Sustainability and Yield Optimization: The "Nose-to-Tail" Approach
In the context of modern sustainable seafood practices, the "yield" of a snapper extends beyond the two primary fillets. In professional kitchens, the "waste" is treated as secondary product.
- The Cheeks: Located just below the eyes, the cheeks are arguably the most succulent part of the snapper, featuring a texture similar to scallops.
- The Wings and Collars: The bony structures behind the gills contain high fat content and are ideal for high-heat grilling or "char-siu" style preparations.
- The Frame: Snapper bones are rich in collagen and minerals. A 20-minute simmer (avoiding prolonged boiling which clouds the liquid) produces a clean, gelatinous fish stock that serves as the base for bouillabaisse or risotto.
Regulatory Framework and Environmental Stewardship
The preparation of snapper is also governed by stringent legal requirements across Australian states. These regulations are designed to protect spawning biomass and ensure the long-term viability of the species. For instance, the New South Wales Department of Primary Industries (DPIRD) and the Victorian Fisheries Authority (VFA) implement minimum legal lengths (typically around 28cm to 30cm depending on the jurisdiction) and bag limits.
Furthermore, seasonal closures often coincide with snapper spawning periods to prevent the over-harvesting of vulnerable clusters. It is a legal and ethical requirement for anyone filleting snapper to ensure the specimen was harvested in accordance with these local statutes. Failure to adhere to these limits not only results in heavy fines but also contributes to the decline of local Sparidae populations.
Storage and Preservation Science
The shelf life of a snapper fillet is determined by enzymatic activity and bacterial load.
- Refrigeration: Fillets should be stored on a rack over ice, allowing any moisture to drain away. Sitting in "melt-water" accelerates the breakdown of the flesh. A properly handled fillet remains at peak quality for approximately 48 hours.
- Freezing: For long-term storage, vacuum sealing is the gold standard. By removing oxygen, the preparer prevents lipid oxidation and freezer burn. If a vacuum sealer is unavailable, wrapping the fillet tightly in plastic film before placing it in a heavy-duty freezer bag is the best alternative. Snapper can be frozen for up to three months before the texture begins to significantly deteriorate due to ice crystal formation within the cells.
The mastery of filleting a snapper is a synthesis of biological knowledge, mechanical skill, and high-quality instrumentation. By respecting the anatomy of the Chrysophrys auratus and utilizing the correct technical approach, the cook ensures that the harvest is treated with the professional rigor it deserves, maximizing both culinary enjoyment and environmental respect.




 Yuyun Lusiyani
 Joko Widodo
 Jia Lissa
 Pevita Pearce
 admin
admin